I have started my fall semester and am having loads and loads of stressful fun! And for one of my Interior Design classes I have to have a bunch of brushes and paint etc. So I decided to make my own paintbrush holder for my brushes. I know that to buy a paintbrush holder is only around $10 - $20 dollars or so which isn't that big of a deal, but I have a TON of material and wanted to use it for something and so I designed my own brush holder. I am not that great of a sewer, but atleast I didn't have to buy one beacuse everything I needed was already had at home!
This is the before pictureof the armoire and although it wasn't really ugly to begin with I just didn't like the color bacause it didn't go with anything in my house let alone the stuff in my daughter's room which was were it was going to be. It was a light minty green color, it wasn't really damaged or have any major scratches, but it doesn't however have any doors for the front of it. My freind that I got it from said it didn't hav any when she got it either but it looks great without them anyways. But I would still like to get doors for it some day.
This is the after picture and I just used about 1/2 a gallon of off white satin paint and about 2-3 coats. I usually try to do 2 -3 coats of paint on furniture just beacause it adds that extra protection so less chipping and scratching happens. It took about 2 hours to do and then it was done!
I know it is a little soon to be posting up Halloween and Thanksgiving stuff, but I love the holidays and usually start making crafts about this time so that I have enough time to enjoy them before the holiday is over.
I took just and ordinary clipboard from the office supply store and painted it black and then decorated it according the theme I wanted for it. These clipbaords are so versitile and easy to do! You can decorate them so they are simple and easy or more extravagant. It is really up to you and the possibilities are endless!
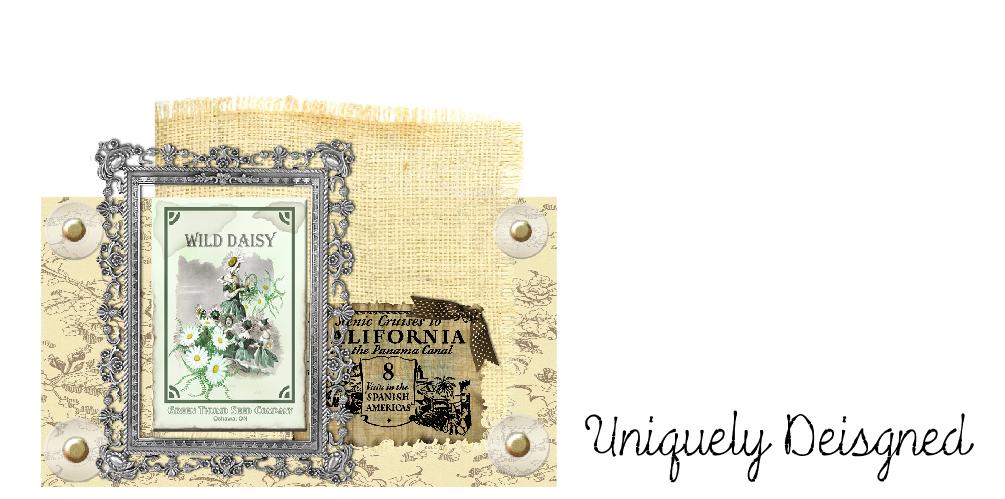
These flowers are mad from cardstock paper and cabab squers for the stems. I painted the stems the green color I chose. And I cut leaves from green cardstock paper. The base is wood and I baught is unfinished and painted it brown and added a little cream to the edges to make it look aged a little bit. Most of the flower templates were from off line, or cookie cutters I already had in my kitchen and I just traced them and cut them out on paper I wanted to use. I also used a brown atamp pad to the edges of the petal to give it the vintage look.
This is my new work in progress! Is is a huge desk in my little boys room that is not being used and so I decided to use it as my new design area. So I thought it would be fun to share some of my cool ides for keeping my stuff accessible and organized. If you look closely the ribbon holder it is a simple wooden base with rods, dowels and even colored pencils! Cool huh! I will do up close pictures and explain what I did to make each item when I am done with it all.