Friday, September 25, 2009
Tuesday, August 4, 2009
fun and simple DIY!
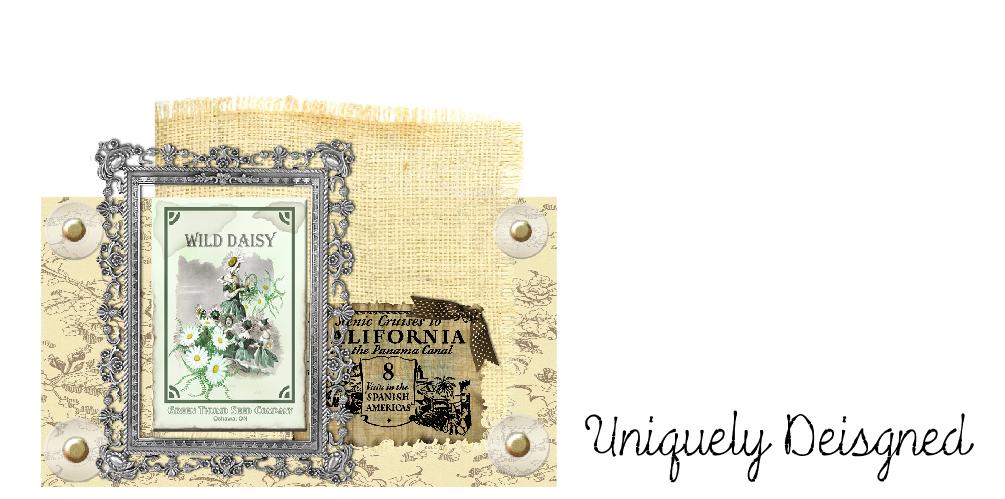
I had 3 of these fabulous frames that I grabbed
them for a steal at $2.20 each at IKEA ;) I should have
grabbed a ton more now that I think about it.
But anyways....
them for a steal at $2.20 each at IKEA ;) I should have
grabbed a ton more now that I think about it.
But anyways....
I dug into my scrapbook paper and hopped on to the computer
and made these adorable quotes etc. I then cut, pasted and stuck
them onto.......
the back/front of the matt board that was already in the frames ( it it just the this plyboard stuff).
I was tring to think of how i could get a cheaper more inexpensive
version of matt board "looking" stuff so i didn't have to spend a fortune
on matt board. So......I LOVED the all natural look that the board had and
it looked great with my green, white, and black color scheme so i used what
i had and it didn't cost any extra! Now you gotta love that!
Hung them in the hallway like this..............
Friday, July 17, 2009
Fun Fun Fun and SO easy!
As you can see in the post below these 2 red topiaries are so stink'in adorable! right!? Well if you think so then here is how I made them. I had a foam cone, foam ball, fake dried rasberries (from target), glue sticks and glue gun. The metal pots I also had sitting around the house as well as the moss so I used them and they worked great!
I was inspired by a piece of wood!
Wednesday, June 17, 2009
Wednesday, April 8, 2009
{"green" wreaths}
I have always loved the moss covered wreaths at Pottery Barn and even the ones that I have seen on Martha Stewert. Bof course am not ready to pay $40 for 1 wreath when I can make these for a total of $6 and be just as happy (well, for now ).
I started out with just some simple stick and twig wreaths. I was lucky enough to find these at a local thrift store for only $1 each, but you can buy them at any craft store i'm sure.
Then i added some ribbon to hang tme with, I then grabbed my hot gluse gun and went to work. I glued the moss (which I found at my local dollar tree) and went all along the side and top with it, packed it on/down and then double checjed to make sure I didn't forget any areas.
And bada bing bada boom! here is the finished product! It's not as good as pottery barn but close enough right? I am going to get some green spray paint and spray them a little with it to give it a more brighter green look.
Tuesday, March 31, 2009
Ballerina Bow Holder
Thursday, March 19, 2009
{ table runner }
I started out making this table runner with some things i already had in my house so that i didn't have to go and buy anything for it. These tassels I have had for a few months and they have been waiting around to be used on a project just like this :)
I had this material from a previous project and this hemming tape from a previous project.
with a little measuring, ironing, and a few dabs of hot glue I now have a cute table runner that didn't cost me a dime!
{an old/new couch table}
I went to a local thrift store the other day and stummbled upon this beautiful peice of furniture. I thought that it had alot of potential and i loved the detailing on the legs and the top. although it was missing the glass out of the top of it i wasn't worried about finding a way to fix that :)
So after a little love, patience, cutting, sanding, and more cutting i ended up with this:
Let me just say that this is probably the best $5 i have ever spent! I LOVE this in my home and i will post pictures when i am done adding decor to the top and bottom of it :)
Wednesday, January 28, 2009
{Paint matching tip}
I have been painting and helping paint interior of homes for a long long time! I have never been able to get paint matching perfect from any other place except through my HomeDepot. I would recommend them for all paint and ecpecially paint matching.
Tuesday, January 27, 2009
{Fabulous pantry orginizing tip}
Friday, January 23, 2009
The Bench almost done!
This is what the semi-done bench looks like. I still would like to add some feet and molding etc. but I started a full semester, and am in the process of packing because we are moving next month. So, this will be a work in progress, and will end up taking longer than expected. I do like it so far though...
Tuesday, January 13, 2009
Bench update
This is probably step 4 of 10. I still have to put the seat on the top and some trim on the inside etc. I am doing a quick primer now so that the wood will not suck up a lot of pain when i paint it the actual color i want it to be. It might seem like i am doing it a little backwords but....well i kind of am but it will be ok :)
Monday, January 12, 2009
Shelf Update...
After some much needed muscle building from all the hand sawing i did ( with the help of my handsome husband)and also some help from our handy Mr. Black & Decker electric screwdriver.... Here is how it looks so far.
I filled in the holes (from the screws) with putty a few minutes ago, and then i have to primer it and pain it :) Yay!!! And yes I will post pictures as the process takes place. See ya soon!
Subscribe to:
Posts (Atom)